

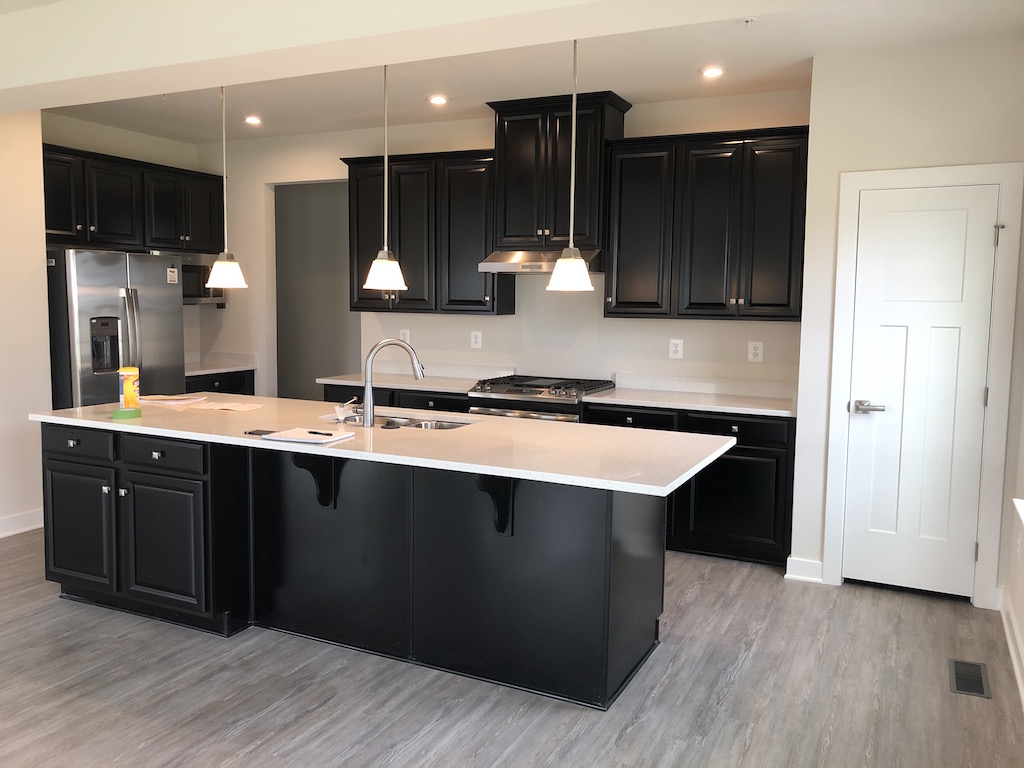
Have you read the home-buying series on the blog? If not, go ahead, and check it out here. After saving so much money for the down payment and maintaining an excellent credit score, then comes all the major projects to do after closing on the home. Many people assume new homes do not require a lot of projects, but that is not the case. When we first moved into our dream home in April, we immediately knew something was missing in the kitchen, the backsplash. The kitchen was so blank, and because of how often we cook, it was only a matter of time our walls get soiled. See the picture below for how the wall used to look. Read below to find out how we saved $3600 on our kitchen backsplash
However, as frugal as my husband is, he could not understand why we needed to pay someone a lot of money to do a project that we could feasibly do ourselves. $4000 to be exact from the estimates we received from the home builder and $2850 was what we received from third party contractors. My husband got to do his research as he always does with anything he envisions. Saving on the project will mean we will have the extra money to hook-up our backyard with a fence, staircase from the kitchen, a patio kitchen, a fire pit, etc. After much more research, we decided it was time to start.
Tools and Materials Needed
| Tools | Materials |
| Tape Measure Painters tape Level Wet Tile Saw Notched Trowel Tile Float Goggles Gloves Sponge Tile Spacers Bucket Water Rag Utility knife |
Tiles Grout Flexible Caulk Tile Adhesive (Thinset/mortar) Adhesive Tile Mat |
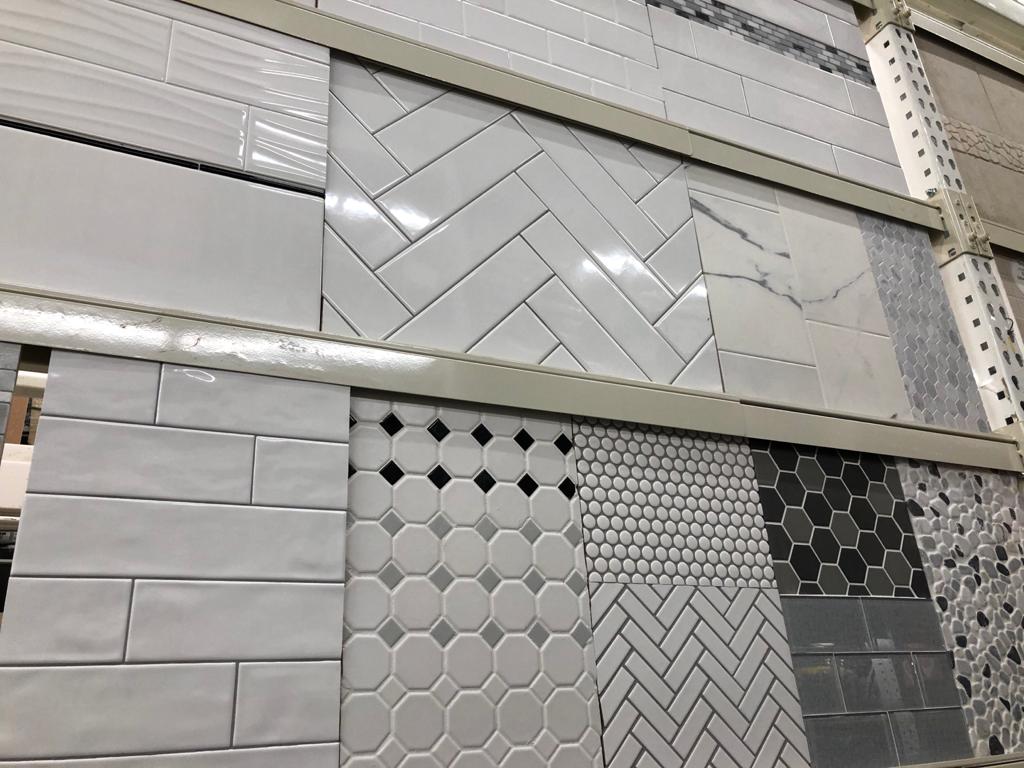
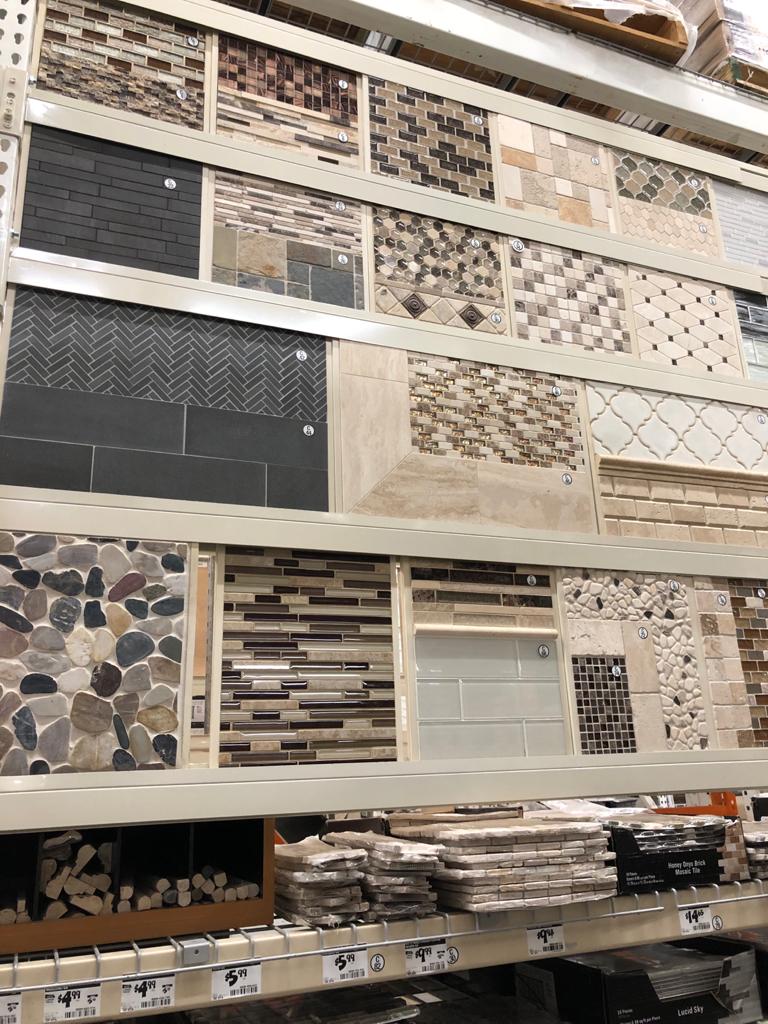
STEP 1: PICKING TYPE OF TILE
The first thing to do before the actual work begins is the fun part, deciding the style of tiles needed. There are many options, such as mosaics, classic subway tiles, glass, stone, ceramic, granite, marble, porcelain, encaustic cement, and more. With the help of family and friends, we picked a combination of glass, stone, and metallic tile for our project from our local home depot.
The next step, after we identified the type of tile, was measuring the wall space to install the tiles. We used a measuring tape to measure the width and height of the wall to get the square footage. The square footage determines the number of tiles needed for the project.
This square footage calculation gets a little more complicated when you have walls with disproportionate sections. With three wall sections and different dimension, we arrived at 12sqft + 19sqft + 9sqft = 40 SQFT. Getting the square footage is crucial because that will determine how many tiles needed for the project. To leave room for error, we purchase 10% more than needed per recommendations.
STEP 2: PREP WALL
Next, we prepped our work area. It included covering our countertops with cardboard and tape, then moving the stove. We shut off the power to the outlets, and removed all faceplates and covered them with tape. It is crucial to inspect and repair any wall damages with compound and sanding it gently. We cleaned the walls with soap and water to get rid of grease and waited until the walls were completely dry. We waited 24 hours until installing tiles on the wall.

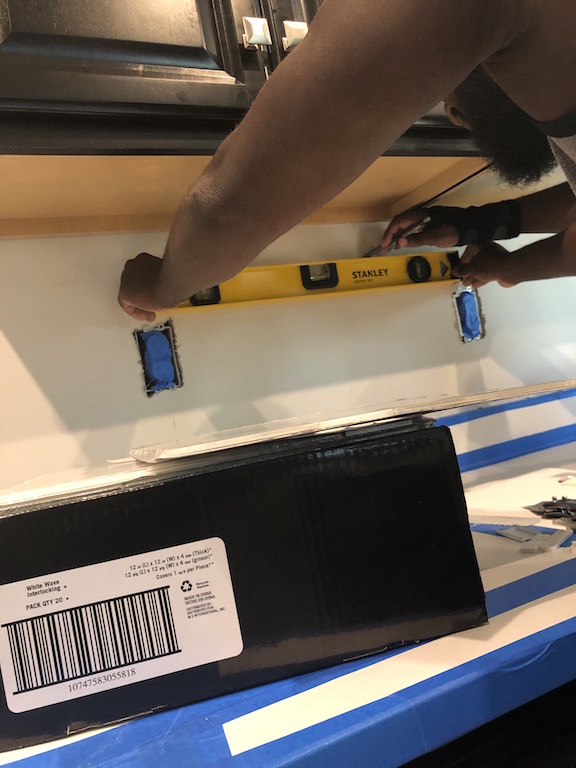
STEP 3: PLANNING LOOK OF TILES
Before we attached the tiles to the wall, we planned how we want the tiles to look. Tile backsplashes need 1/8-inch expansion around the perimeter where the tiles meet the cabinets and the countertops. So, we used spacers to create gaps.
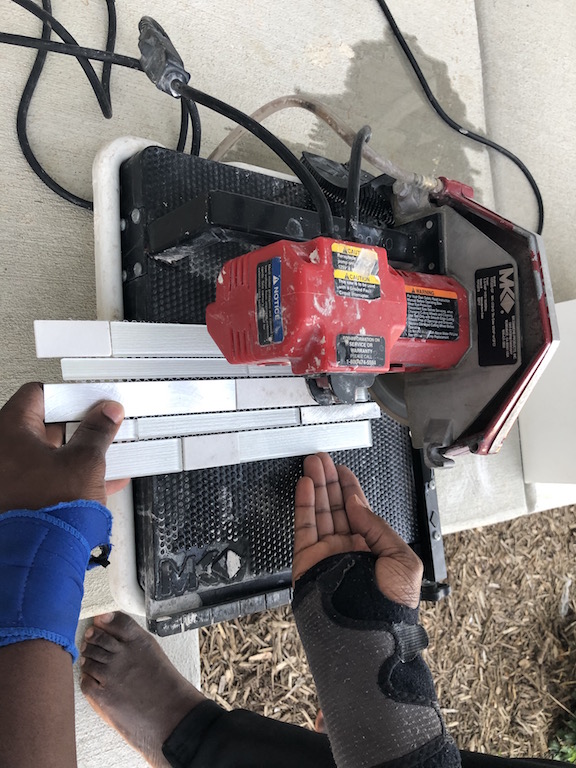
We placed the tiles on the wall and made points around to know how many tiles to use and how to position them. We used a wet saw that we rented from home depot to cut some of the tiles to fill smaller gaps. You may use tile nippers, or tile cutters to achieve the same results.
STEP 4: INSTALLING TILES
Step 4: There are a few options to choose when placing the tiles on the walls. You can either use thin-set mortar, tile adhesive (glue), or peel and stick mats. We used the thin-set because it was the cheaper and the best option. The peel and stick option is the most expensive, but also the cleanest.
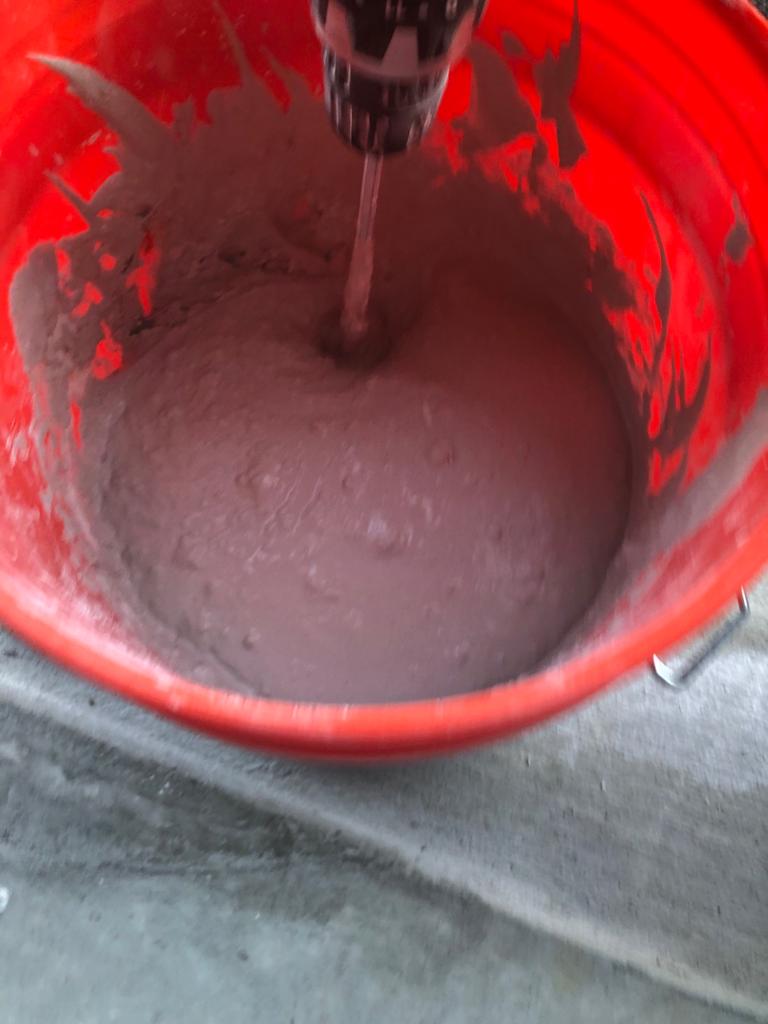
To use the thin-set, we mixed the powder with water according to the manufacturer’s recommendations. We applied the mixed mortar to a small section of the wall with a drywall trowel because the thin-set dries fast. We then combed over it with a notched trowel.
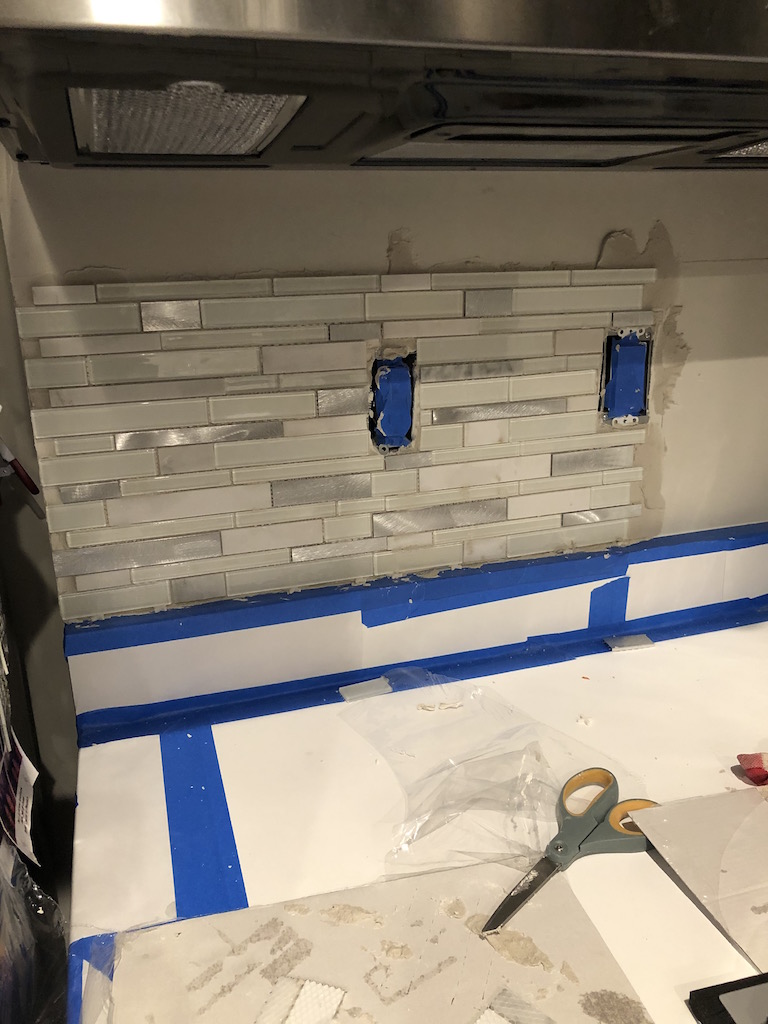
We pressed the first piece of tile onto the wall with a little twist leaving a 1/8-inch expansion gap at the countertop using the spacer and pressed against the wall with a rubber float to seat it in the adhesion. We worked in small sections and repeated that step till all the walls were completely covered. The mortar was left to dry for 24 hours per manufacturer’s recommendation before grouting.
STEP 5: GROUTING
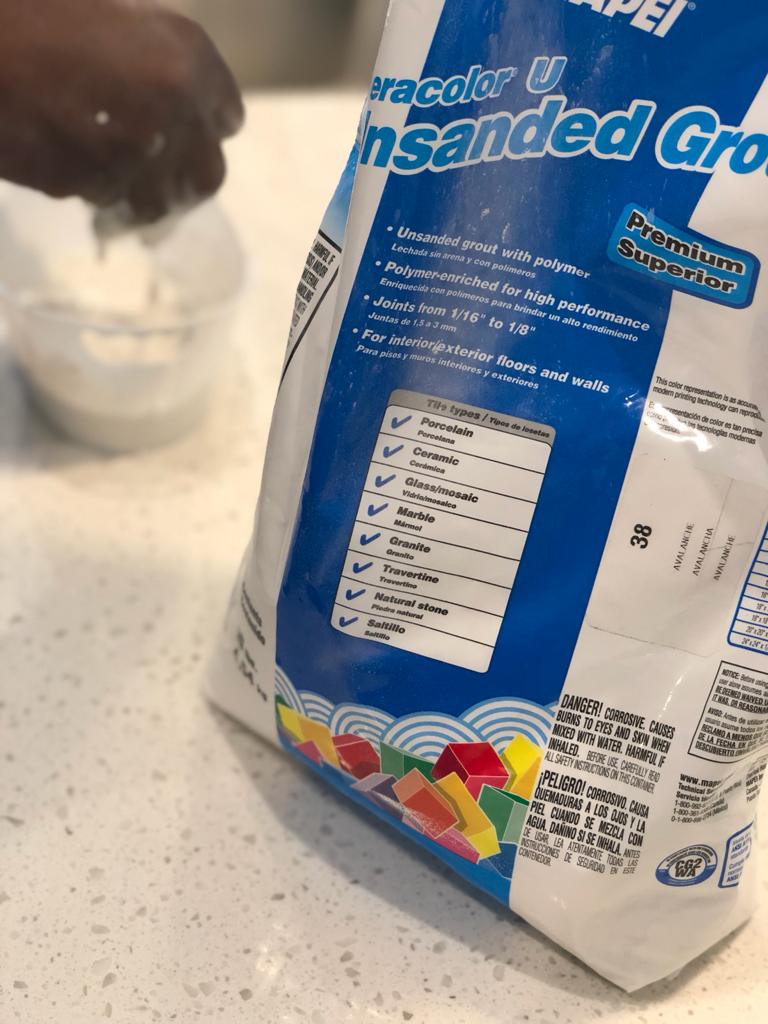
Before applying the grout, we wiped the surface of the tiles with a wet cloth. While we waited for it to dry, we mixed the grout following the manufactures recommendation. Once the grout is mixed, there is limited time to use. Working in sections is a great idea because you have to apply grout diagonally across tiles using a rubber float to press it into the joints. We waited a few minutes, then wiped away the excess with a sponge using a diagonal motion.
We rinsed our sponge frequently and repeated the procedure until we completely covered the walls. Since we were installing glass tiles, we chose a white grout. There are many grout colors to choose from, depending on your kitchen pattern. We allowed grout to dry for 24 hours according to the manufacturer’s recommendation before the next steps.
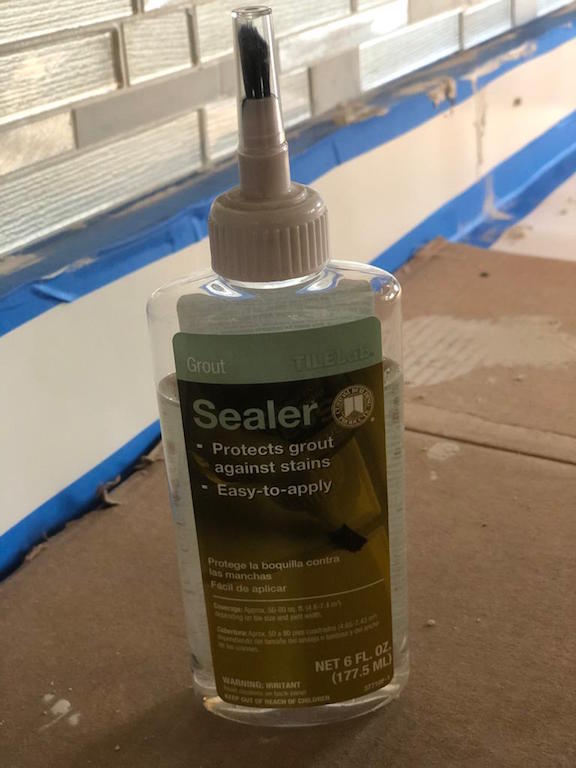
STEP 6: SEALING GROUT
Step 5: Sealing the grout is also a crucial step to avoid stains on the grout lines. Once the sealer dried, we filled the 1/8 extension gap left between the countertop and the backsplash with caulk that matches the color of your grout. We used the same manufacture of our grout to achieve the same pigmentation.
STEP 7: CLEANING UP
We put the stove back and added box extenders to outlets and switches to bring them to level with the new tile backsplash and we did not have to replace outlet covers, however we had to buy new longer screws to fit the extenders. We walked away feeling like bosses and $3,609 richer.
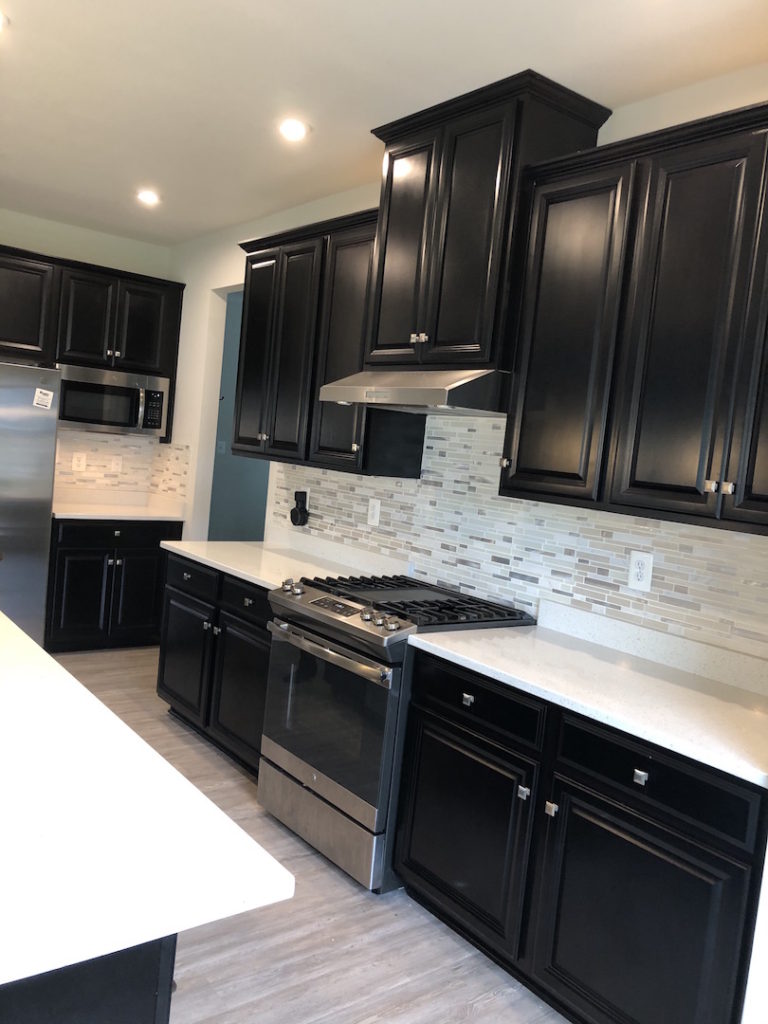
The project was time-consuming. It took about five days to complete. Was it worth it? Yes. We saved $3609 that we can use towards other projects in the house. If you plan to build, you don’t have to select all the options the builder provides. Something such as the kitchen backsplash is easy to do following the steps outlined above. If this is difficult to follow, you can watch our inspiration video here. It was a fun project, and we plan to do many more in the future.
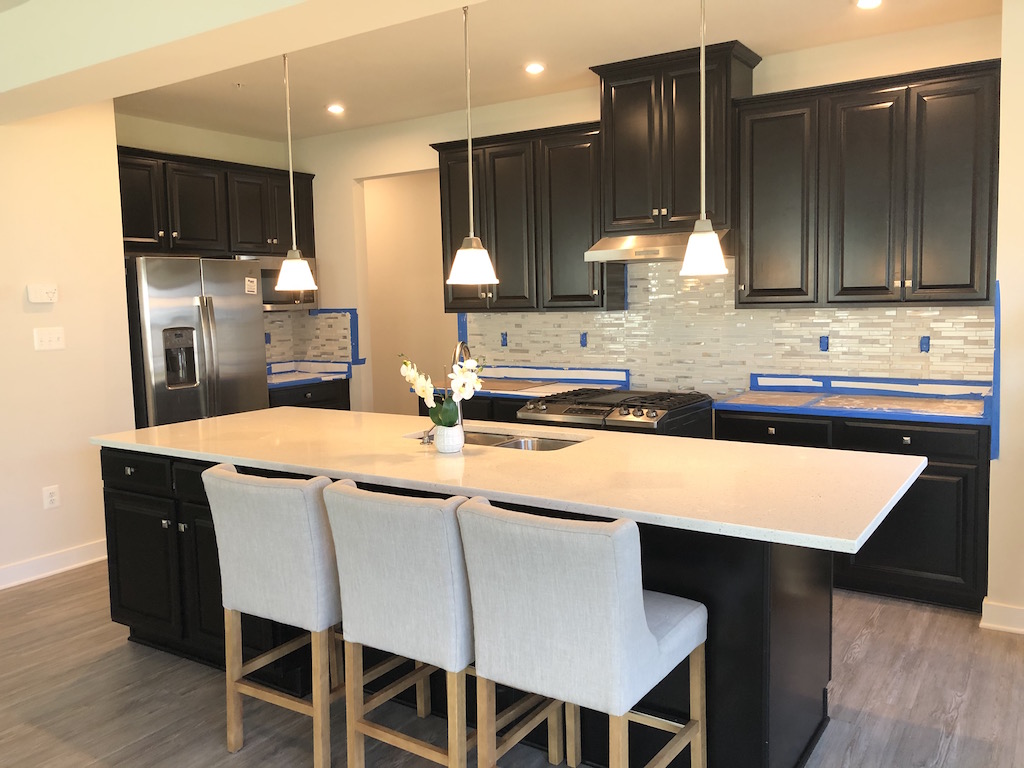
FINAL LOOK
If you like this and you believe someone else may benefit from this, please share. Follow my blog social media pages (Facebook, Instagram, and Twitter).
Don’t forget to subscribe below to be the first to receive new blog posts in your email for more DIY projects
Till next time,
Charly
haha Trust Rodney to do this, the last time we came to your house, he had a closet to fix in your home i think. he has always been a fixer, lol..